First Track Experience!

IMG_2142_1200x800

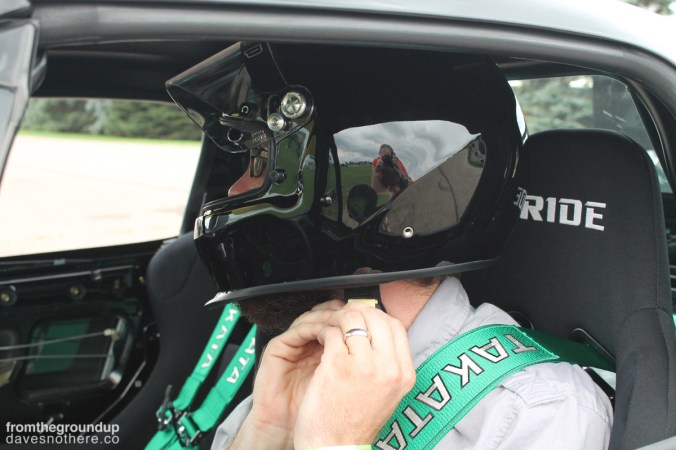
I read about SCCA’s Track Night on social media. It looked like a great opportunity to get my feet wet in the world of racing. It also was happening at GingerMan Raceway, a great road course not too far away. I signed up and got me a helmet!

IMG_2141_1200x800

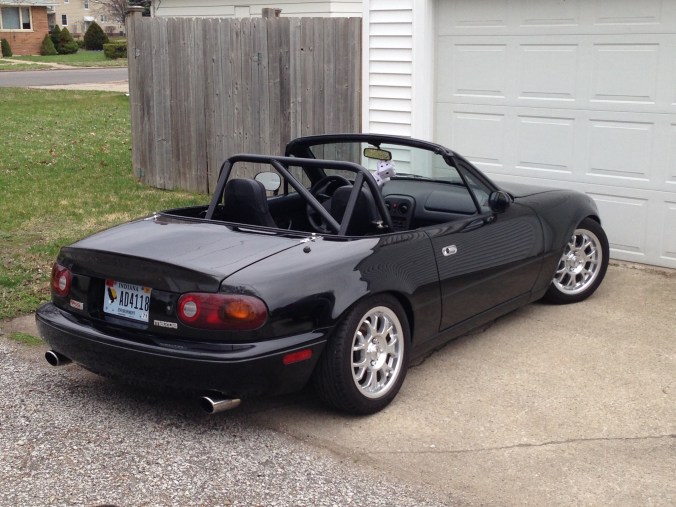
When Caroline and I got to GingerMan, we pulled right into a spot on the paddock. We parked next to a stock-powered 240SX that proved to be very quick.

IMG_2233_1200x800

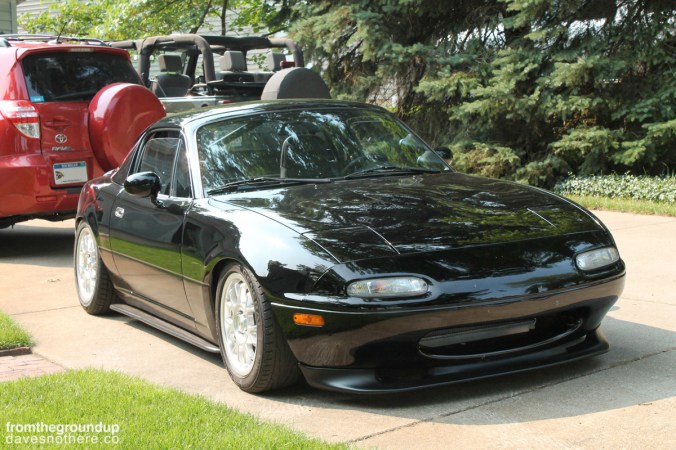
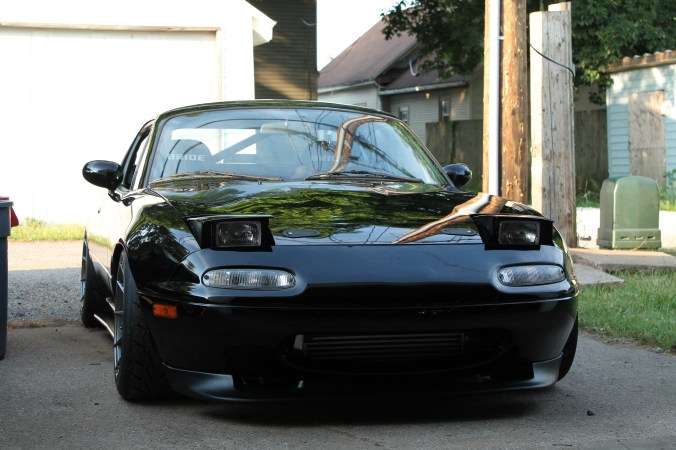
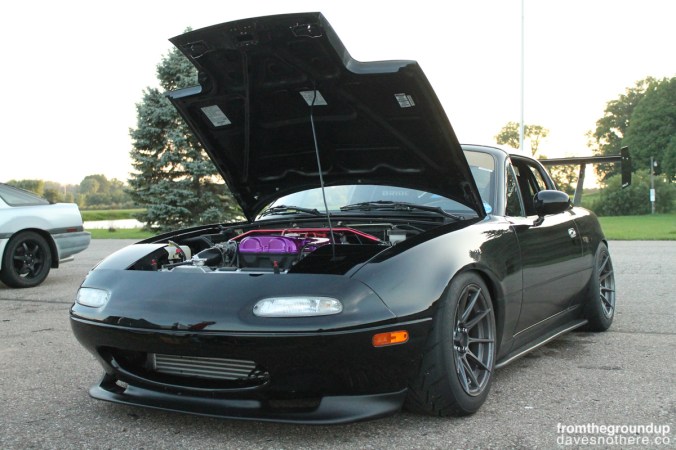
This was taken before the second session, but you get the idea. I was still excited!

IMG_2147_1200x800

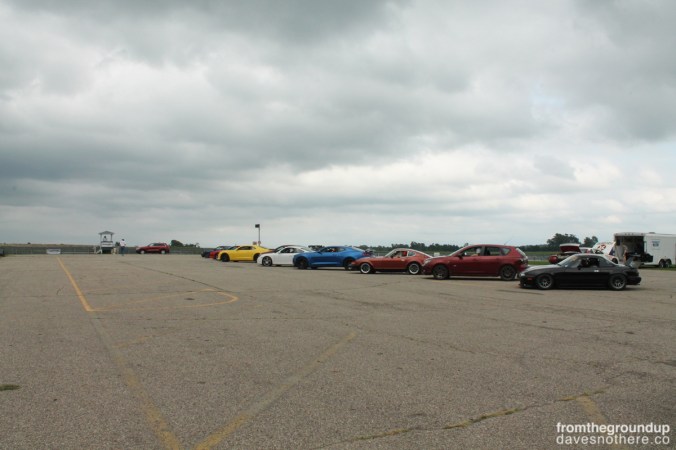
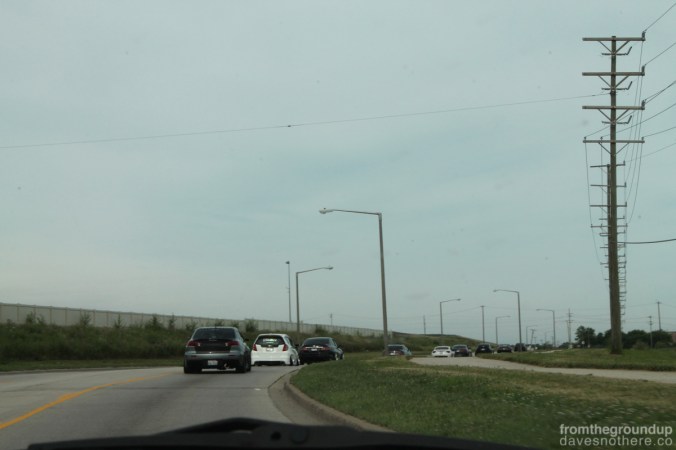
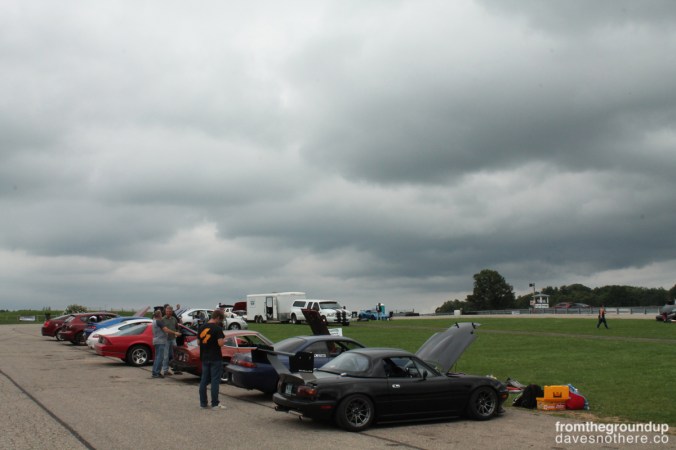
Here was our lineup. My wife rode along for a few pace laps before the first serious run. Because of the tendency of new drivers toward showing off to their passengers, riders aren’t allowed for the normal sessions unless they’re instructing (and qualified to instruct).

IMG_2164_1200x800

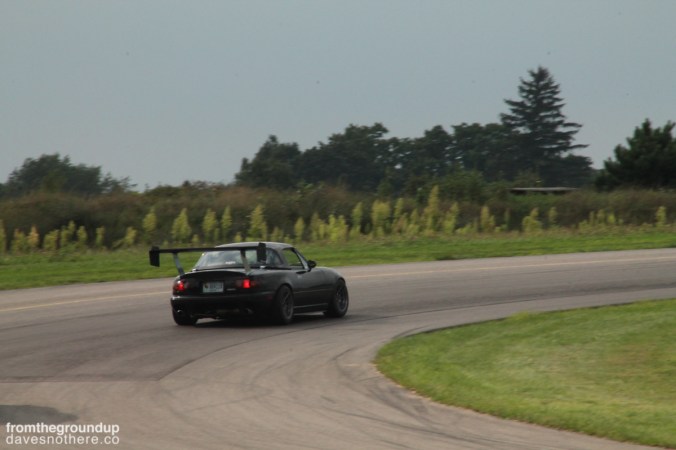
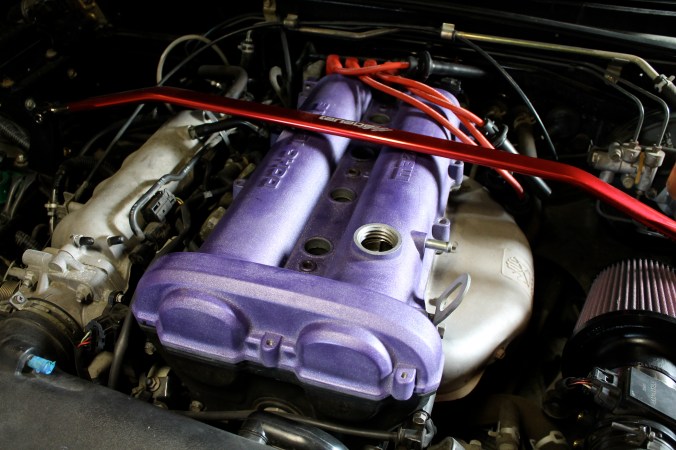
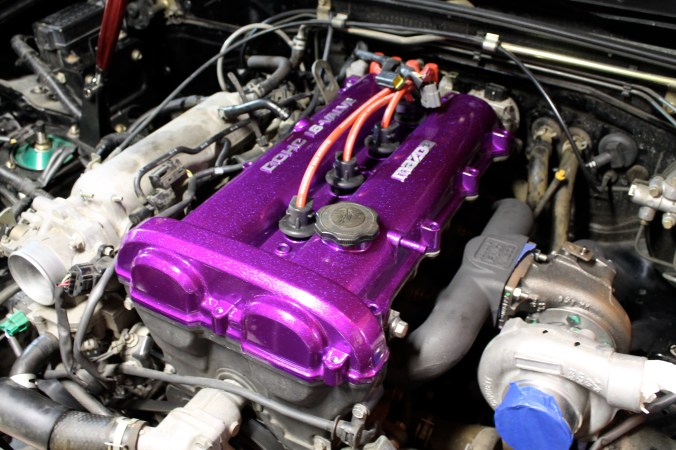
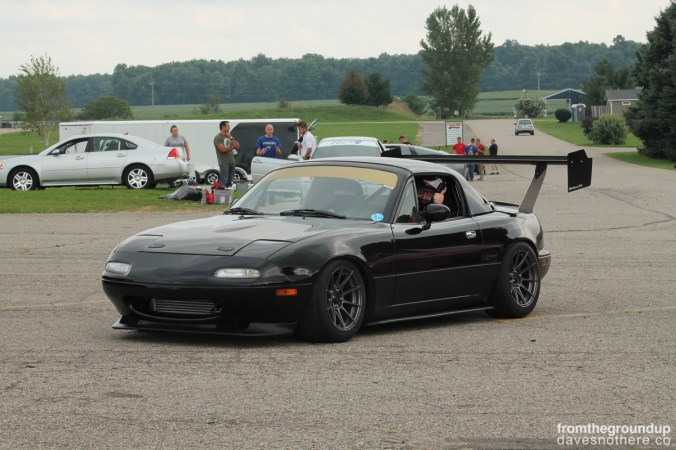
Here we go! Driving on the track was a great freedom. I could never (or would rather not/should not) push the car like this on the street. It was great to find that the modifications made to the Mazda were not made in vain.

My wife was kind enough to play the photographer on this night. She took some great shots despite minimal fancy camera experience.

IMG_2229_1200x800

I’m glad I had the experience to drive on this road course. I’ve been up to GingerMan with my Dad for a few events. We’ve been up to watch my uncle race in his Mustang GT a couple times. On another occasion with a few of my friends in high school, we went up for a Viper Days event. I almost forgot… My first time showing the car was at Gridlife Midwest which took place here. The event coverage is a few posts back.

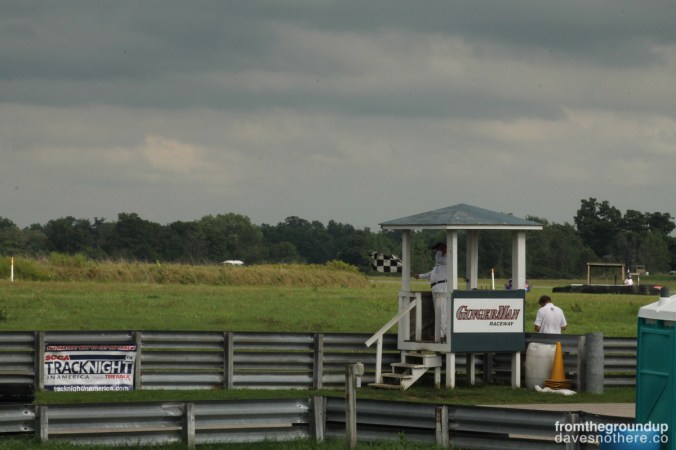
Our instructor for the Novice group took us on a field trip to turn 1 to watch the Advanced guys go through it. It’s a fairly quick turn at the end of the front straight. We were being advised on what line to follow through it and into turn 2. It was a great photo opportunity.

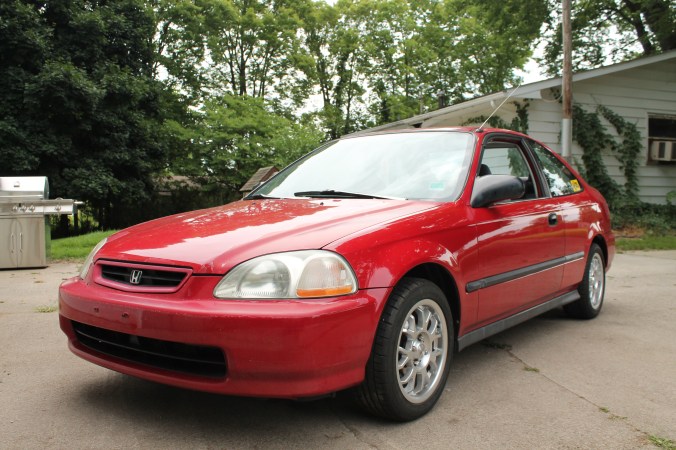
Here are two chassis I own. My Merc doesn’t look half as good as this one. And my Z will take some time to complete.

IMG_2358_1200x800

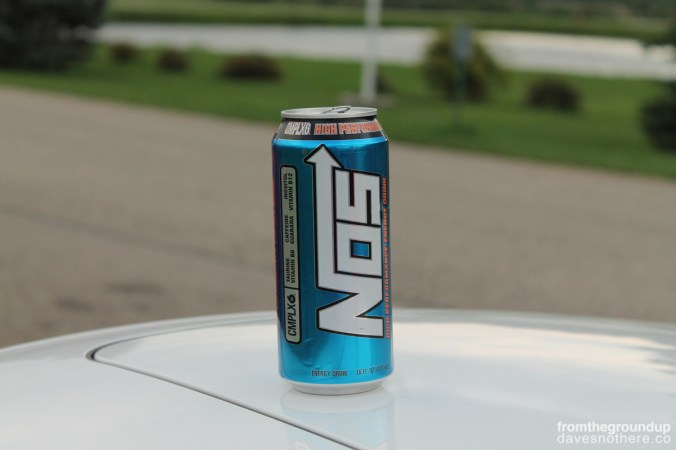
This fuel got someone through the evening.

IMG_2474_1200x800

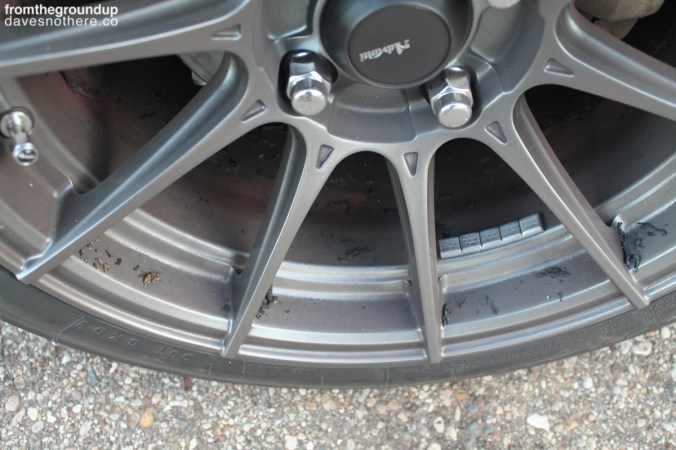
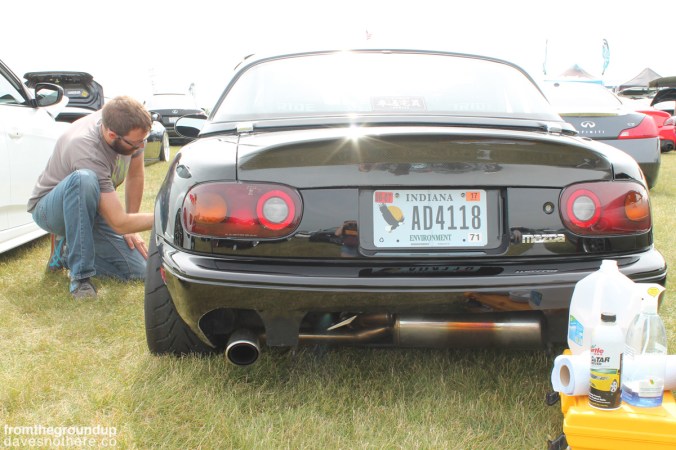
My wheels were looking pretty dirty at the end of the night. Dead bugs, tire rubber, dirt, and brake dust.

IMG_2473_1200x800

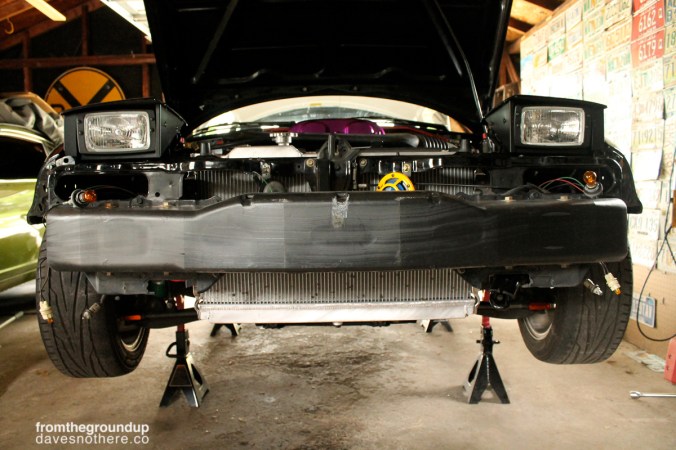
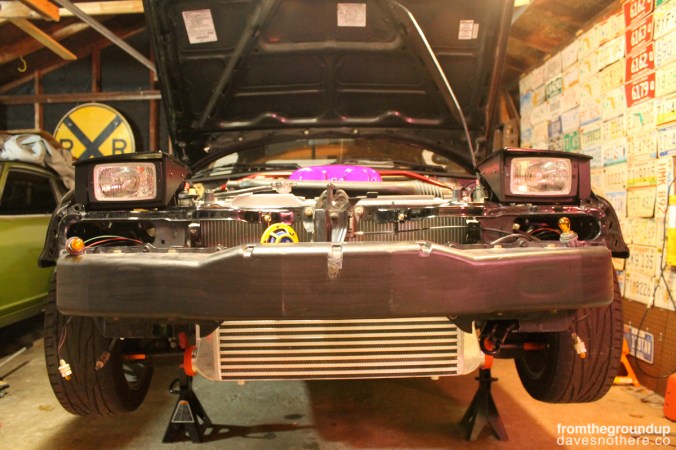
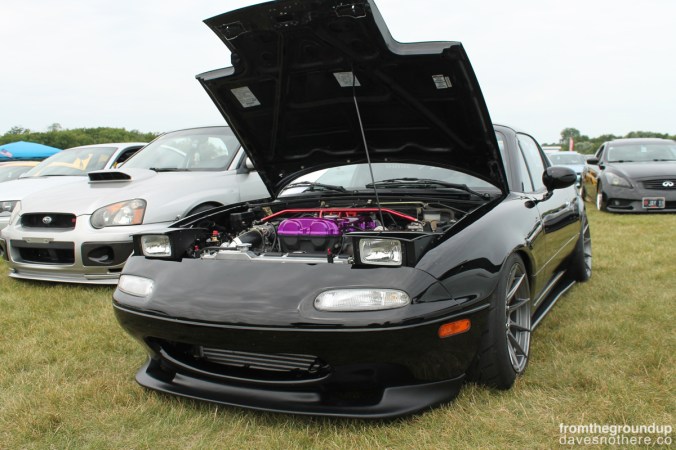
She made it! I had to tighten up a few things under the hood in the days after the event, but overall, great shape.

It was a lot of fun. I’ve shown the car a few times this year and that’s been fun. However, car shows aren’t nearly as fun as being out on the track. You can push the car to its limits and still talk cars with the people you meet.

My wife had a great time, as well. I’m glad that she could come, help out, and have some fun. It’s my hobby, but I’m glad we could share the experience together and have a great time. We’re ready for September 11th when we go back for more!

Busy car weekend

When you’re into cars, the summer is guaranteed to be the busiest time of the year for you. There are car shows, meets, races to watch, track days, days spent in the garage… It depends on what you’re into, but regardless, when the weather is warm and the sky is sunny you will be busy.

We had a weekend back in July that involved three different events in one weekend. The first event was something I look forward to every third Saturday of the month, the Tire Rack Cars and Coffee meet. It’s a relaxed environment and car people of all types mingle and talk about what they love.

After the meet at the Tire Rack warehouse, it was time to drive home and pick up my wife. A coworker’s son-in-law works at US12 Speed and Custom in New Buffalo, Michigan. The shop was having their annual car show. I’ve been invited the past few years, but have always been busy. I figured we could check it out this year. So after a delicious lunch at the Stray Dog in New Buffalo, we went.

I’m glad we went. It was cool to see the cars, especially the dragster. I’ve seen jet-powered cars at air shows before, but never up close. We headed home after stopping at Oink’s for some ice cream.

Sunday was left unplanned, but it didn’t stay that way. My parents were going to the Gilmore Car Museum near Kalamazoo and invited my wife and me to join. Knowing that we won’t live in this area forever, we decided to go along.

It’s a great museum. I’ve been there before, but it had been a while. The new buildings are a good addition. It’s funny to think that it’s such a large, quality auto museum and it’s not far away.

I didn’t get to work on the Miata that weekend, but it was fun. As I said, when cars are your hobby the summer is a busy time.

Backlog: I pretend my car has a turbo

IMG_4793_adjust

This is how the car was looking in July of last year. The car needed an intercooler for the turbo setup. It’s an easier step to make than setting the car up with a completely aftermarket ECU, so I decided I’d start small.

IMG_4807

I guess a person could say “You don’t need an intercooler.” They’d be right. A turbo setup can function without it. However, if you want any power with a turbo car you’ll want one.

IMG_4810

I had purchased a kit, but it was no good. So many of the parts that came with the kit I just stared at wondering where and how they were supposed to go together to form one cohesive unit. That included all four mounting brackets that came with it. I decided to make my own brackets.

IMG_4811

If you haven’t noticed yet, I like to reuse holes already drilled in the car when possible (until this method gets in the way of efficiency or functionality). I think it’s less scary to me when I know I can reverse any change made to the car. Since I had taken out the air conditioning system, it seemed like a good idea to use the mounting places originally for the AC condenser for the intercooler.

IMG_4817

This wasn’t very difficult. It was mostly a matter of measuring, drilling, eye-balling, and checking that things fit right. You’ll also notice the power steering lines are in some of the photos. I did install the intercooler after I did the tie rod end upgrade, but before swapping the manual steering.

IMG_4816

Alright! After this, the car had a visible intercooler through the front grille for at least eight months before the turbo setup was functional.

Backlog: Improved Steering

So, I have to admit something. I didn’t do anything with the Miata’s alignment after lowering the car considerably. Tire wear didn’t come across my mind often because it’s one of those things that takes time. I lived with the handling being fairly squirrely because it did feel responsive. Maybe just a little too responsive. The toe was out in front. Enough that a person could tell by just looking at where the wheels pointed. It was time to fix things.

IMG_4800_1200x800

The decision was made to change the tie rod ends for something that would help reduce the negative characteristics from lowering the car. Adjustable tie rod ends would help at least with the change in toe occurring when turning and traveling over uneven road.

The original tie rod end is above. That’s what I like about this car. It’s a clearly worn part, not beat to junk, not rusted in half, but obviously in need of service considering the boot is no good. Simple.

IMG_4801_1200x800

I measured things out. I counted the number of threads visible. If nothing else, it would at least be close to right.

IMG_4802_1200x800

Here’s the new tie rod end on the driver’s side. It’s an adjustable part made for an RX-7, but the threads are the same as the MX-5. You can see how much farther down the new ends would bring the inner tie rods. So much better.

IMG_4963_1200x800

After driving around with the new tie rod end improvement, I decided to swap out the power steering rack for the manual version. The power steering would get in the way of the turbo stuff. Also, I can always justify in my mind a change to the car if it saves weight, even if it’s a laughably small difference.

IMG_4965_1200x800

It was a fun project. Not too difficult. I sourced a manual rack through Panic Motorsports. Great company. I called since it wasn’t on the site. They said they thought they just got one in and called back very shortly thereafter to confirm. The price was right and two days later I had a manual rack. I went with SuperPro bushings to mount the rack. They’re marginally stiffer than stock rubber bushings.

IMG_4970_1200x800

I did have to modify these parts for use on the manual rack. They’re from the power steering rack, but I made them work on the manual rack. I did use the dremel around the inside to make the holes large enough to work. In the end, the tabs still bent in as they were meant to. If time didn’t matter, I would have ordered the correct parts. However, I had scheduled an alignment at a race shop outside Chicago called TF Works. I didn’t leave myself any time to spare.

After the tie rod end swap and the alignment, the car was handling much better. It was not as unpredictable. It responded very well to small steering inputs, but less frantically.

Backlog: The New Radiator

IMG_4640

With a turbo setup coming together, I figured it was a good idea to upgrade the cooling system. Over the fourth of July last year, I upgraded to a new radiator in the Miata. I didn’t want to do any extra work later, so I upgraded other related things on the way.

IMG_4648

The engine bay gets pretty roomy when you take out the radiator and fans. I flushed out the old system using a cleaning product. I should have done it sooner. It needed it.

IMG_4649

The old and new. I upgraded my 240Z with a Koyorad radiator and I was pleased with the quality. When I was looking for the Miata, I found that Koyorad was making a new thinner version that performed just as well as their older performance radiator. I went with the new one.

IMG_4651

The new radiator could accept the factory shroud and fans, but I decided to upgrade those parts. I figured I’d do it eventually and it would be better to do the work when the radiator was out. The shroud and fans are part of a kit made by Flyin’ Miata.

IMG_4657

Nearly finished . I replaced the hoses with silicone pieces and used Breeze clamps to hold them in place.

I’m glad I swapped out the radiator. Eventually, I’ll reroute the coolant to make the most out of the system. It’s been doing great on the street.

Offset Kings

I’ve been going to the Offset Kings shows around Chicago for the last 4 or 5 years. The last 2, the show has teamed up with Gridlife at the Autobahn Country Club in Joliet. Not long after I registered the Mazda to show at Gridlife Midwest, I registered it for Offset Kings as well.

IMG_0386

After a late-ish night, I got up bright and early to wash the car. Waxing I did at the show. My wife, who joined me on this trip, also helped by cleaning the windows. We were there a little earlier than we needed to be, staging in between groups of cars that wanted to park together, but that was ok.

IMG_0390

We spent the first hour or so getting the car to a show-worthy condition. Some people stopped by. We talked for a bit with Ivan, the owner of the silver WRX to our right. Theo, owner of a fairly built white Miata and a few more project MX5’s, came over. It’s fun to talk about the details with people who are doing similar things. After this, it was time to walk around, see the sights, watch the racing, and enjoy all the event had to offer.

IMG_0395

Below is what we found around the show and the paddock. There were many high quality builds. It was great to see cars with so much attention to detail, so much time put in. I wish I could show all of the photos I took, but I’m sure it would get a little boring.

Now, we have the track coverage. There were a lot of familiar cars out there, some new.

Finally, here’s the drift coverage. It’s always a lot of fun to watch, especially the tandem runs and long, smoky slides.

It was getting a little dark toward the end. Rain was passing us to the south, but fortunately for us, it stayed there. The awards ceremony was at the end of the day. I couldn’t have been more excited when I found out I was getting an award!

IMG_1242

It was a great day. Lots of fun talking with people, seeing all the built up cars on the track and in the show. Tyler caught up with my wife and I in the middle of the day. Looking forward to next year! (And yes, the date is wrong on the trophy)

IMG_1473

Catching Up

IMG_1855

There’s a lot I haven’t documented while making upgrades to the Mazda. Let’s go back to midsummer of last year. The car had Tein adjustable coilovers, a Racing Beat front sway bar, a Mazdaspeed rear sway bar, 949 Racing end links, a manual transmission with an Exedy clutch and flywheel, a Hard Dog roll bar, and some other minor upgrades.

IMG_2798

One of the minor upgrades I performed was purely cosmetic. I’ve always liked the look of a painted valve cover (or cam cover). A lot of different colors ran through my mind. Eventually, I decided on purple. Yes, purple. I tried a rattle can job, but it looked atrocious. It was embarrassing. After seeing some nice powder coating work at Tuner Galleria earlier in 2015, I went with K&K Coating near the Illinois border. They mixed a base, Illusion Violet, and Chameleon Teal Sparkle. The result was fantastic. The violet can be more blue or more red depending on the light. The teal flakes really make it pop.

IMG_2805

I took the time to do a few things while the valve cover work was done. I test-mounted the exhaust side turbo hardware. I replaced the engine and differential mounts with Mazda Motorsports units. Upon reinstalling the cover, I changed out the cam angle sensor o-ring where a small oil leak had developed. I also put in new Magnecor spark plug wires.

IMG_4220

On the exterior, I installed a factory hard top, Project-G G-fusers on the sides, and a carbon fiber trunk lid from CarbonMiata. In June, I installed a set of Jass Performance low profile headlights. They make the front end look a little more like the FD chassis RX7.

We’re getting closer to the present day! There’s a radiator upgrade and some suspension changes in the future. Fast forward to now and I’m getting ready for my second car show. My wife will be joining me at Offset Kings outside Chicago at the Autobahn Country Club. We’ll be out there on Sunday!

Gridlife Midwest Part II

Here’s the coverage of the track at Gingerman during Gridlife, the most exciting part of the event. I wasn’t on the track, but I hope to start tracking the Mazda soon. First up, it’s the time attack cars.

The last round of photos are from the drift sessions on the course. There was a good mix of amateurs, longstanding local talent, and pro drivers.

All in all, it was a great time. It was hot, my face got sunburnt, I didn’t win any award in the show, but it was still fun. I talked to some cool people about our cars. I got to see a lot of great builds in the show, in the paddock, and on the track. Tyler came up and we hung out for a while. Good times! Now to get ready for the next show at Offset Kings in Joliet!

Gridlife Midwest Part I

IMG_9277

I took one last photo before the drive up to South Haven. This is the shiniest this car has been in a long time thanks to Tyler. He stayed over late into the morning hours doing a real professional quality wash and wax job. I helped. In the morning, the trunk was loaded with products to finish some details before the show officially started around noon. There were also tools in case of a breakdown and a cooler full of cold drinks.

Here are some photos from the show. There were around 200 cars entered. I saw some great builds.

The show was good, but what I really like to see are the cars that go out on the track. Here are some photos from the paddock and around the grounds.

This is all fairly peaceful. Check out some photos of the action in the next post!