Finally

IMG_9275

There was supposed to be more fanfare. There’s been a turbocharger on a shelf in the basement for the last two years. Every time a friend would ask about how the progress, I felt a little embarrassment about how little progress was being made. But, it’s working out. Thanks to a lot of late nights in the garage, the help of friends, and the wide availability of parts and information on the internet, it’s finally together.

I’ll try to keep a reserved attitude about it. The standalone ECU needs tuning. The engine runs hot. There are some electrical bugs that need to be worked out. However, the car was done just in time for my first show at the Gridlife Midwest event! A photo-heavy blog post is forthcoming!

The Conversion

I’m doing what I can to catch up to the present day. The Miata’s conversion from automatic transmission to manual took place over a few weekends in July of 2013. This was a big project. I spent the winter and spring earlier in the year researching the process, pouring over the Mazda parts manuals, and ordering parts. It sounds tedious and boring, but I actually enjoyed it. If I could do things like this for a living, I would be a happier person.

IMG_0922

Here’s the 5-speed I picked up locally. Thank you, Craigslist.

IMG_1222

The car spent two weekends airborne.

IMG_1227

Out with the auto. We strapped the transmission to a jack and lowered it out of the car. It’s a beast. The manual is considerably lighter.

IMG_1229

A good friend of mine was able to help with the install. He has a knack for all things mechanical. As a result of his help, the work was much quicker and far fewer curse words were spoken.

IMG_1234

New clutch in place. I went with an Exedy Stage 1 race clutch and a lighter flywheel of the same brand.

IMG_1237

This was not an uncommon sight.

IMG_1240

It was fun to figure out how to wire a few things so that things worked in the end. The ECU is still the auto version. We’re basically telling the car that it’s in park by jumping these pins. With the car “in park” the ECU will allow the engine to be started. You could run wires from the pins to a clutch switch and it would only start with the clutch pushed in. Nah…

Car spotting in San Francisco

The wife and I took a trip out to San Francisco a few weeks ago. I did some spotting during the vacation.

IMG_5696

This old Mercedes was immaculate. I’ve always liked the look of these sedans. It’s forty years old and still looks like the pinnacle of refinement.

IMG_5843

Maybe it’s not impossible to navigate the hills in a lowered car.

IMG_5869

Parking options are limited on the steep hills.

IMG_5884

I don’t know if I’ve ever seen a VW truck on the street before. This guy was excited, honking the horn as he passed by.

IMG_6073

This is the only old Datsun Z car we saw on the trip. It was in the town square in Sonoma.

IMG_6077

We also saw this beautiful Porsche 356, and another in red brown, parked in the same town square.

IMG_6932

This seemed to be the only vehicle permanently residing on Alcatraz.

IMG_7258

This is dorky, but we just don’t see vans like these in the Midwest. I’d drive one every day.

IMG_7293

Like most of the West, you see a lot of old VW buses. We saw these hippie-mobiles up on Twin Peaks.

IMG_7958

Here’s a Ford Bronco in Sausalito.

IMG_8144

One of my favorite wheels, the Volk TE37.

Time to get low

IMG_0325

I’ve always thought that just about any car looks better when it’s a little closer to the ground. It’s also been my opinion that a stiffer suspension makes the car more fun to drive. I had a sport set of Tokico struts and lowering springs on a Honda Prelude that really made the car feel more solid, lighter on its feet. In stock form, the Mazda was good, but I knew I that wanted something more.

IMG_0321

The struts and springs were nice for the Honda, but I wanted some adjustability this time around. I decided on Tein Flex coilovers. Tein is a quality Japanese brand and, hey, I guess that’s what I like. The dampening is adjustable as well as the height. They’re a decent set for the track as well, but I’d be lying if I said that was my goal from the start.

IMG_0328

The installation was not difficult. I did a little more than I had to, essentially dismantling the spring/strut/top hat assemblies in the process of removing them. I followed a how-to online that was really meant for replacing an element of the assembly rather than the whole thing. Still easy, it was only one step beyond the other process. The vendor I ordered the Flex coilovers from shipped them assembled and set up to a certain height. As you see them in the photos is how they came to me.

IMG_0873

Unfortunately, I didn’t take many photos during the install. It was a lot of fun and the first suspension modification I’ve done with my own hands. And the car looked and handled so much better after!

Timing Belt

When I bought the car from my dad, we didn’t know how old the timing belt was. So, to keep on the safe side, I decided to change it. The task seemed pretty daunting at the time. Like most cars these days, there’s a lot that needs to come out before you can get to the belt. It’s a good idea to change the water pump and some seals on the way; do some preventative maintenance while it’s all apart. The intention was to do the whole thing by myself and I kept mostly to that. My dad helped with getting some of the old seals out.

IMG_0130

I might have been lazy about the project. For a first-timer, I’d imagine it should be done in one long day, maybe a weekend. It was stretched out for a few weeks. Some work got done here, some there. I definitely took my time.

IMG_0057

There are a few different paths one can take changing the timing belt. I used a specialty tool to hold the crank in place while the crank pulley bolt was removed. A friend advised using a jack to get the necessary force to turn the bolt. It did the trick. I left the radiator in. Some online resources advised removing it, but it really just gives you a little more space to work. It wasn’t necessary. Using an impact, you might be able to bypass the need of the specialty tool, but you’d probably need to remove the radiator to get the gun in there.

IMG_0076

All in all, it was a smooth operation. It was done at a relaxed pace. I gained a lot of experience. I also lost a little of the fear that I would mess something up beyond repair.

The Beginning

IMG_5133

Everyone has a hobby or diversion, at least something they hope to do in the downtime. If you know me, you know I have more than a few interests. There is one long-standing passion, though. There have been other pursuits to come and go, but I’ve always been into cars.

In high school, I read car magazine after car magazine. I knew plenty of performance figures for all the greatest sports cars. Then, the Japanese import scene grew. I was enamored with those cars. At the time, bright colors, flamboyant body modifications, thunderous stereos, and super-low profile tires were the key points. Anything from “The Fast and the Furious” was amazing to me. Then, the drift and JDM styles came around and I followed those trends… at least in what I wanted.

After wrecking my first car in a fairly minor accident, I owned an old Honda Prelude. This car received a sportier set of struts and springs and a nice, stainless steel exhaust system. But, it was never cut out for a long-term project. There was rust eating away at the underside, the paint’s clear coat was mysteriously absent from some parts of the body, and strange mechanical malfunctions would arise every so often (how does a steering knuckle wear out?). As time went by, life became busier. College and work kept me occupied. I spent less time dreaming about some future project car.

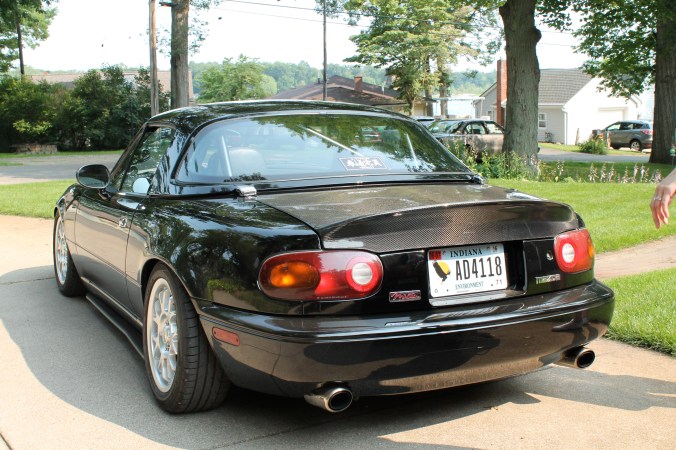
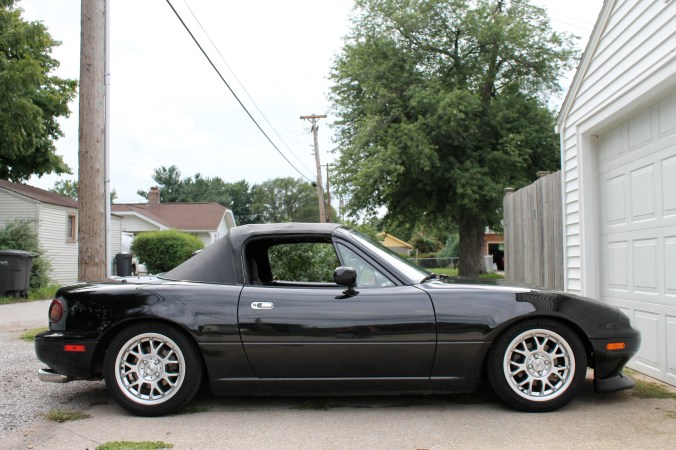
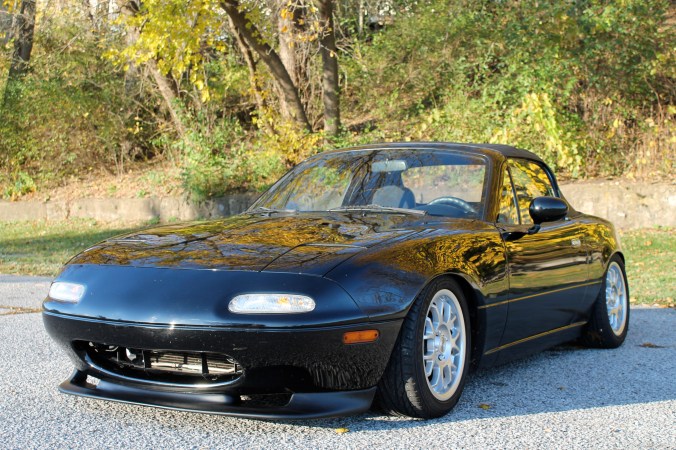
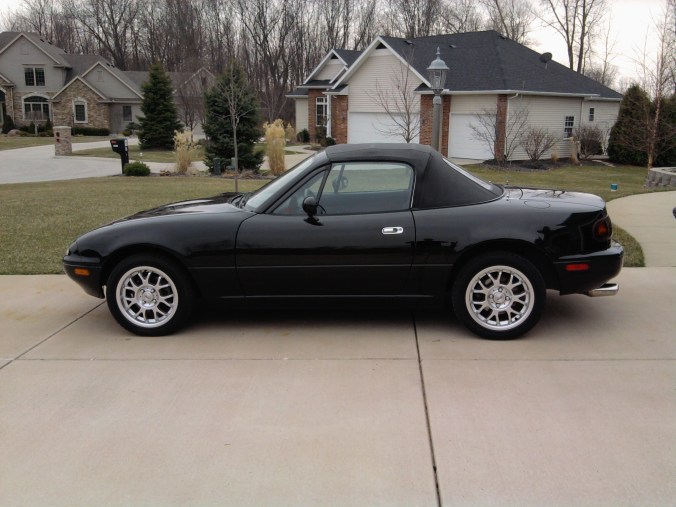
This changed after college. It wasn’t long after graduation when I rediscovered that automotive passion. With a full-time job and college debt out of the way, I finally could start on a project. I bought my first just-for-fun car, a ’73 Datsun 240Z. I had liked the old Z-cars. I started to see them pop up in blogs and their status of “grandfather of Japanese sports cars” was compelling. A couple years after this, I bought my Dad’s ’95 Miata. It was light and fun to drive. It was also simpler, something that could be enjoyed immediately.

IMG_1445

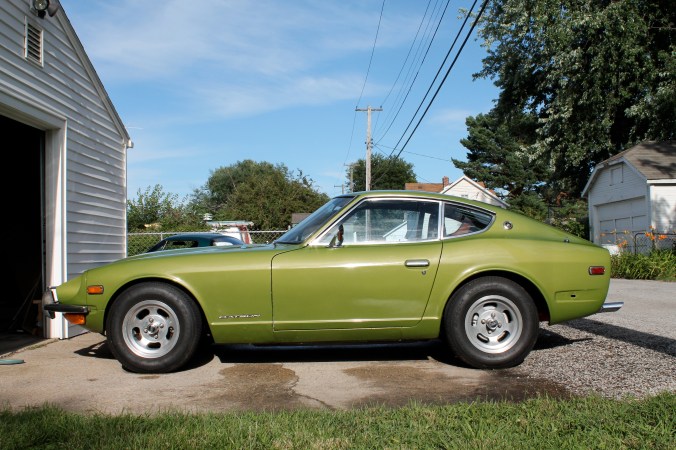
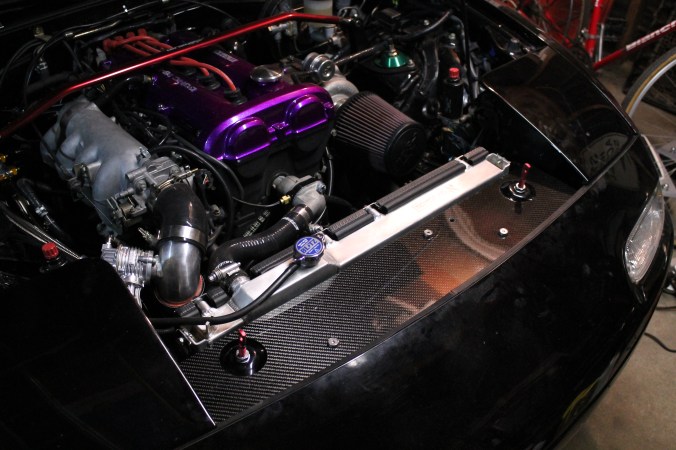
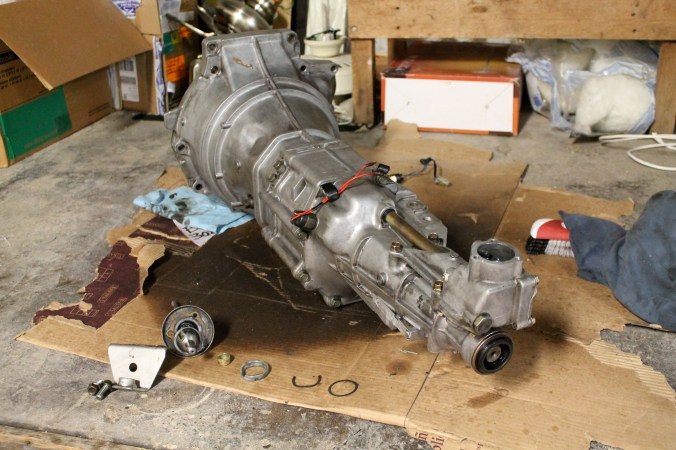
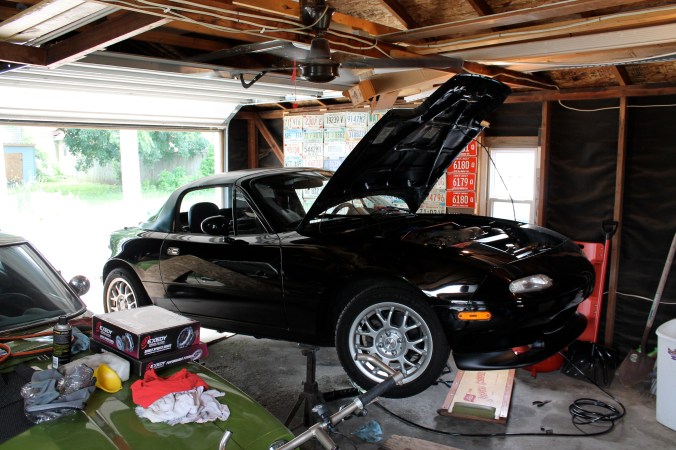
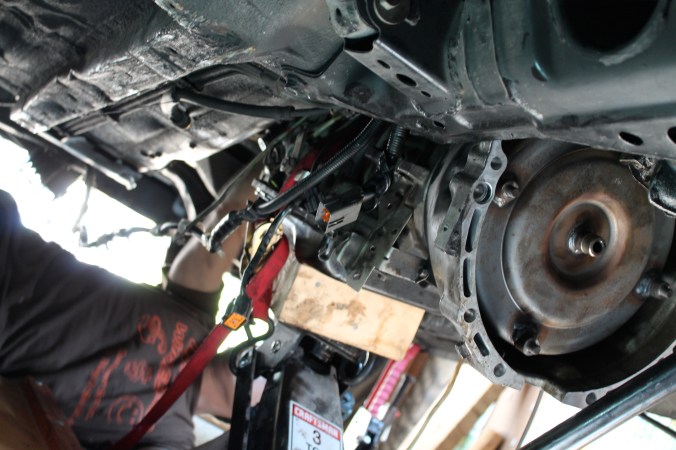
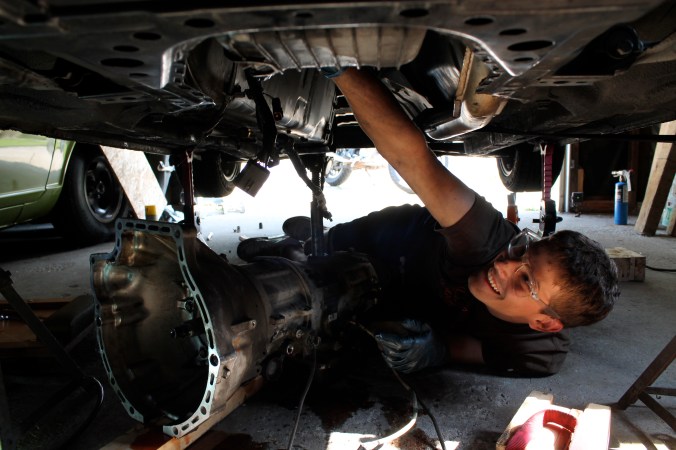
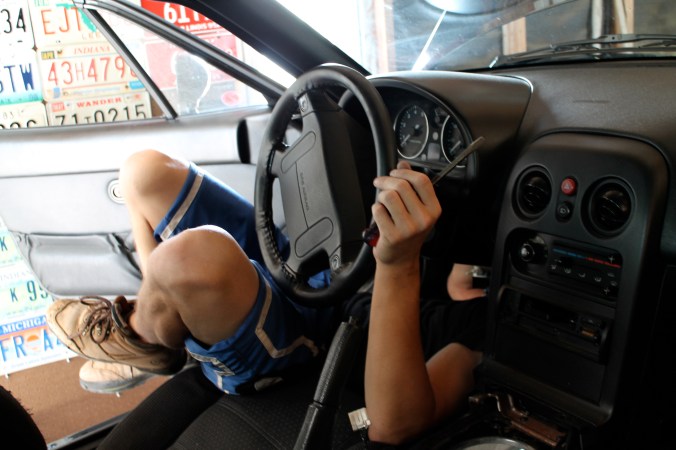
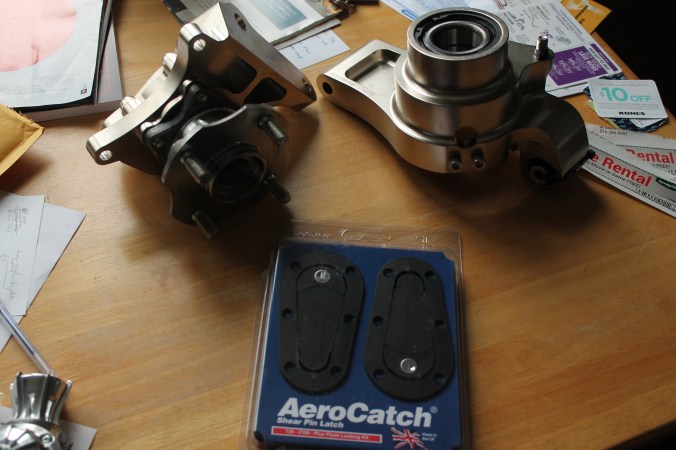
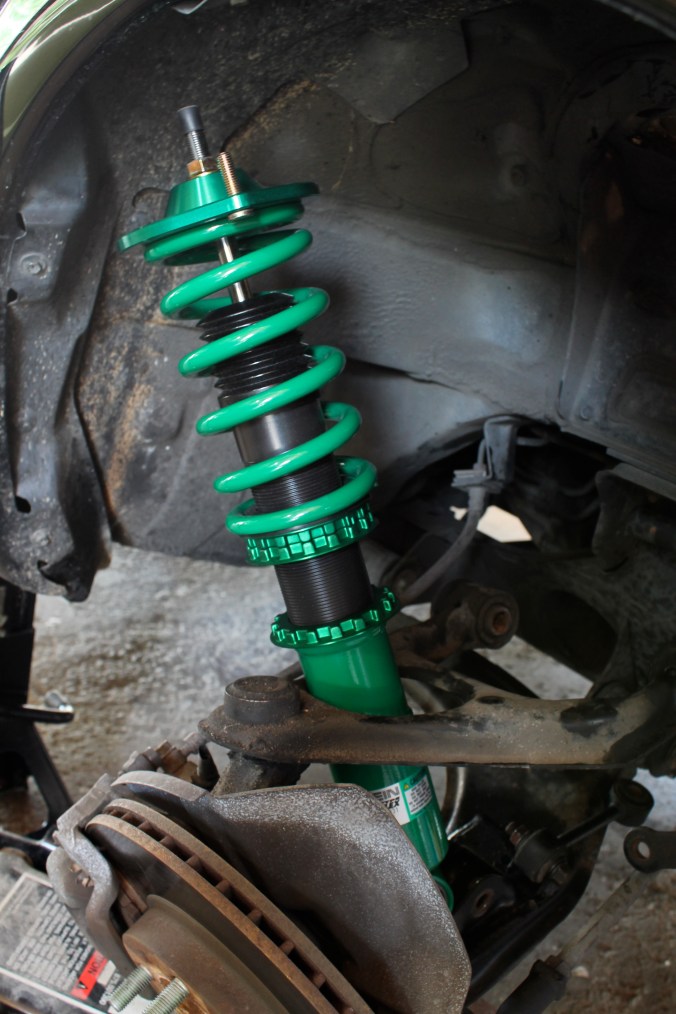
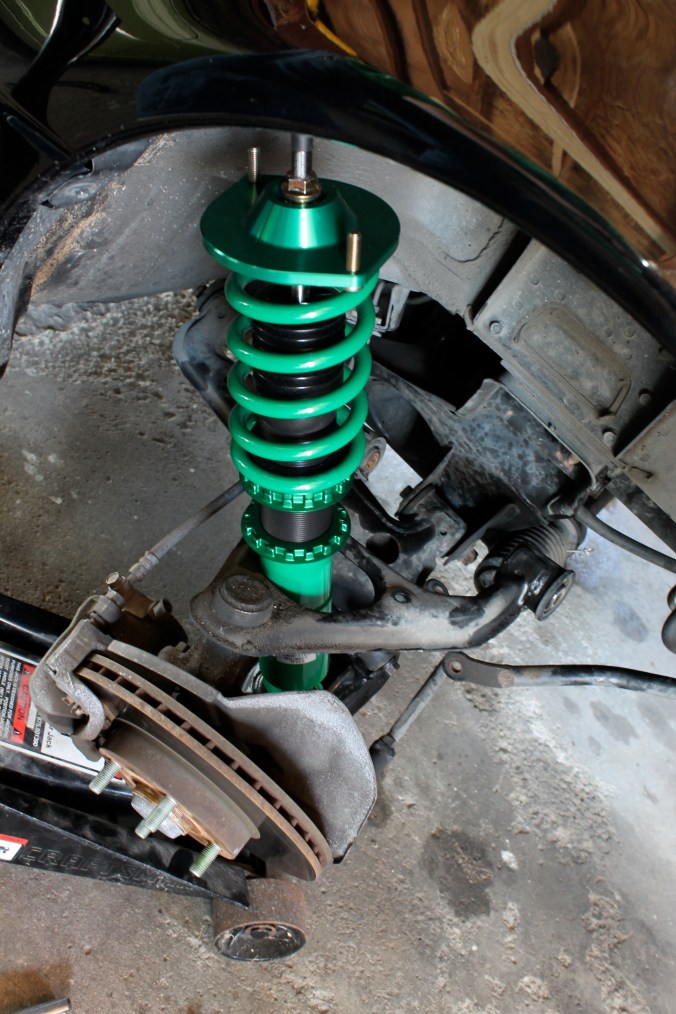
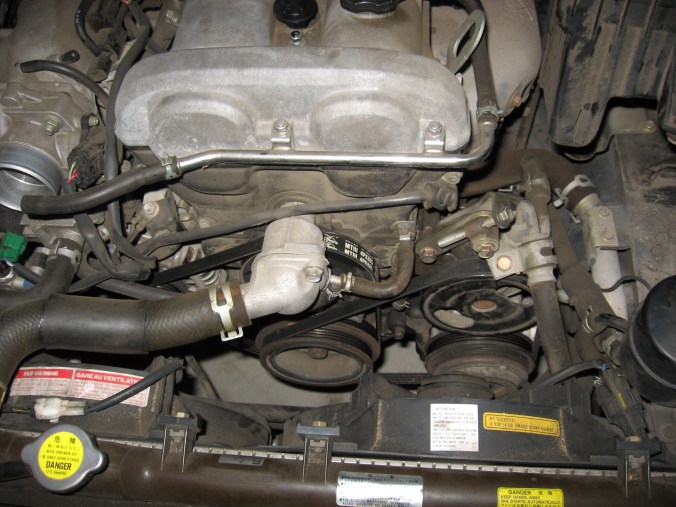
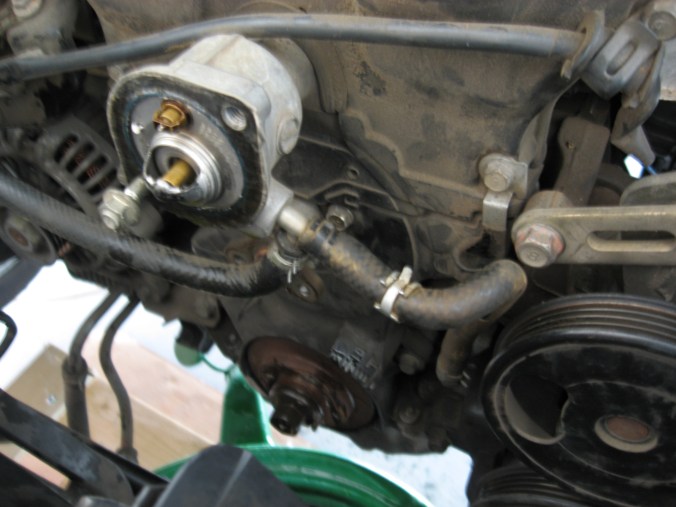
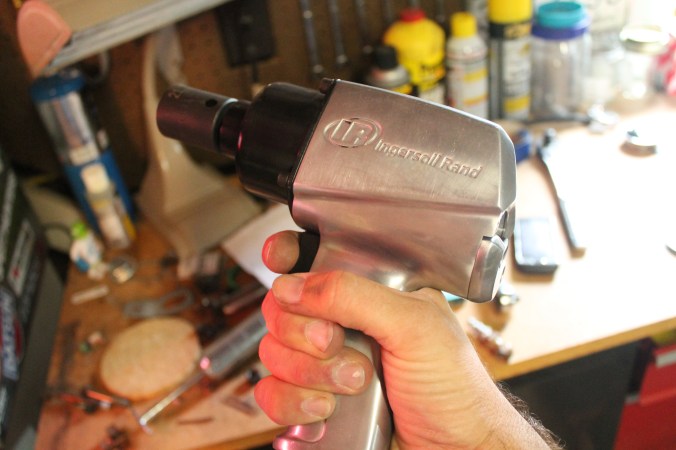
Now, having two automotive projects running at one time is certainly something more for the independently wealthy. The Datsun is my first love and what I describe as “the long-term project.” It doesn’t currently run. I acquire parts for it slowly. I have a grand plan for it, but that will come with time. The Miata, on the other hand, has been the ever-evolving project of the last few years. It began life equipped with an automatic transmission and most of the optional comforts Mazda offered at the dealership. It was originally just for fun, cruising around town. After some thought, I realized that I want to race. My favorite cars are heavily-modified with that end in mind. So, the Miata has started down this road.

IMG_5145

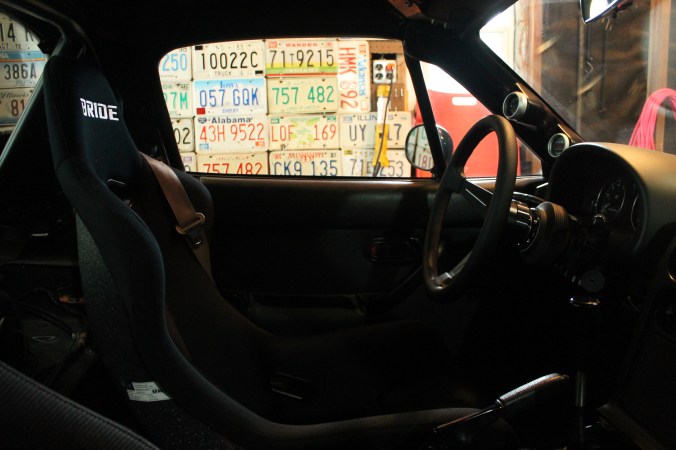
These two cars will be the focus of this blog. Realizing where the Miata project might go, I began to document the modifications I’ve made. There was going to be a problem in the future if the car came to be a full-blown track machine, but there was no documentation of the transformation. I don’t like the idea of simply saying “well, it used to be stock.” I want to look back and see the progress.

Most of the content will be about the Miata. There are a few years of work to look back on. I’ll be posting a lot of the changes made. There will also be many updates as the current status changes. I’m busy preparing the car with racing in mind this year. I also have the car entered in a show in June. There are some deadlines! The Z is not forgotten. With the help of two good friends this past winter, I picked up what hopefully will be the new engine. This is going to be a busy year. I’m looking forward to the new experiences.