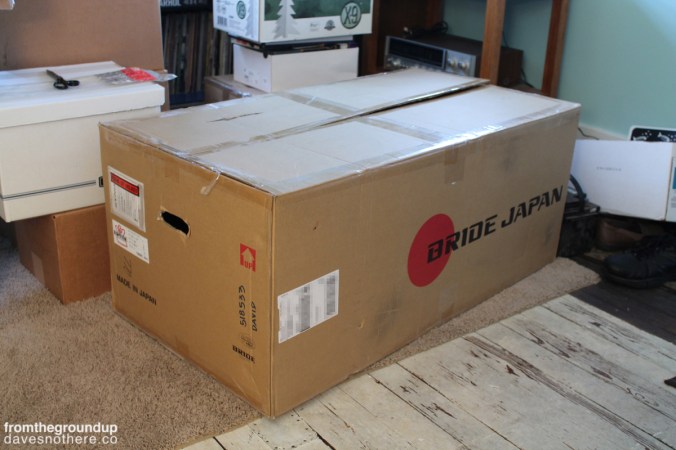
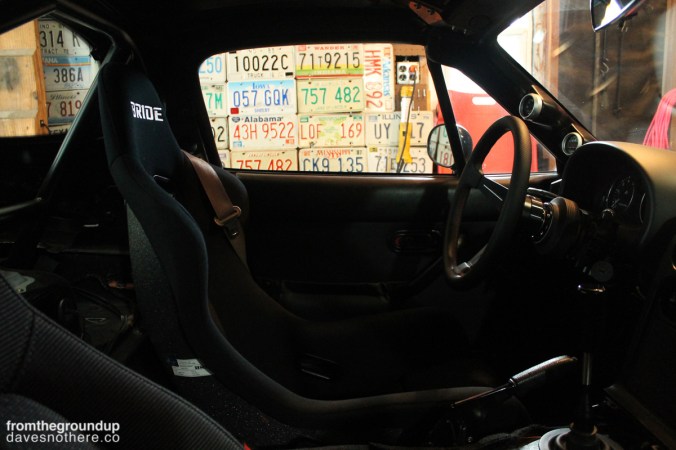
I knew I would race the car someday. I was anxious to get more car stuff. I decided to outfit the car with at least a racing seat for the driver. I really can’t remember how the logic went in my brain, but it ended with me deciding on a Bride seat.
At the Offset Kings show/Gridlife event I went to in the summer of 2015, another Miata owner with a Bride Zeta III was kind enough to let me sit in his car. At least, I think it was a Zeta III. As the friends in attendance may recall, it was a funny sight. The seat was positioned well for the guy who owned it, someone at least a foot shorter than myself. My knees were touching the dash and steering wheel. Nevermind that the seat itself was feeling pretty snug.

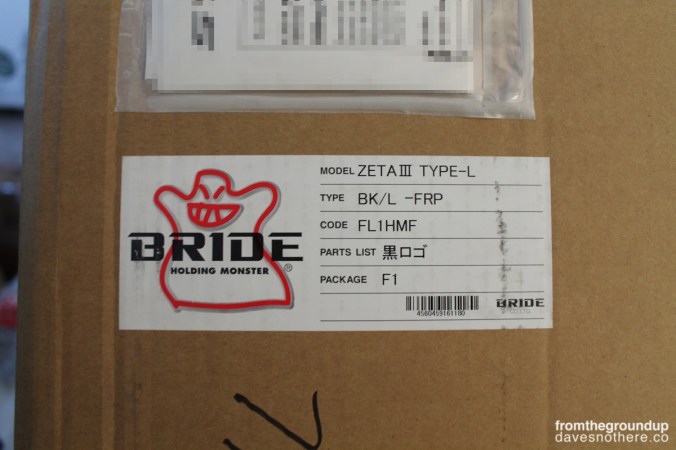
After pouring over reviews, forums, and published information on the seats, I made my decision. I loved the Recaro Profi SPG’s. They’re excellent seats. But I went with the Bride Zeta III’s. I’ll be honest; I liked the look better.
The Bride seats are known for running a little slim. Waist greater than 36″? They may have to cut the seat off of you if you manage to get into it. Knowing this, I went with the Type-L version available which is ever-so-slightly larger in a few dimensions.

Since the seat is a side-mount, I had to source some fancy seat brackets. I found these made by GarageStar. I feel a little dumb for mounting the seat in this way. I found later that mounting the seat to the brackets, then brackets to floor is faster and easier.
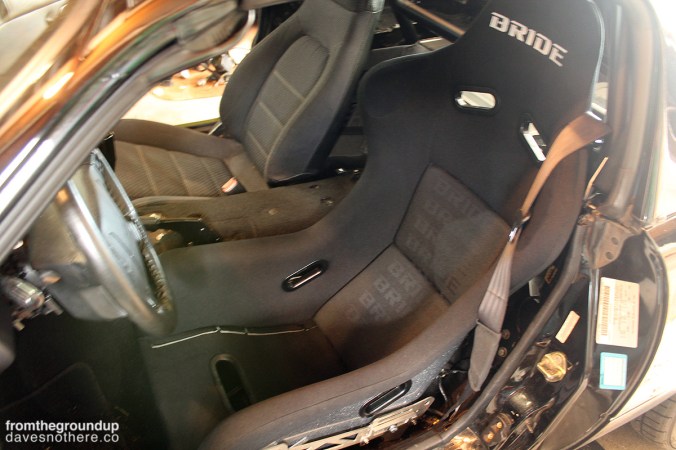
Tada!
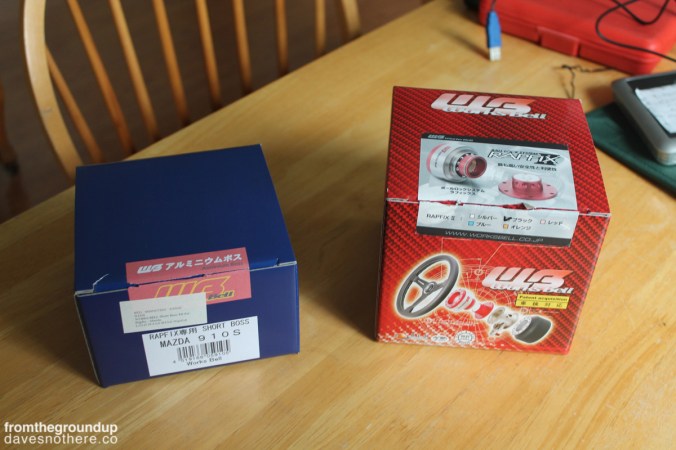
I wanted an upgraded steering wheel in the car in addition to the new seat. I already had a Nardi Torino wheel in the Datsun. Since it wasn’t drivable, I figured I could borrow the wheel at least until I got another one. So, all that was needed was a steering wheel boss. But, I decided I’d get a quick release hub while I was at it.

I like to stick with the same brand on the stuff for the car when I can. There are a lot of bosses on the market, but fewer quick release hubs. The Works Bell quick release is one of the best out there and I found a good deal on one. After a lot of reading and some guesswork I decided on a boss of the same brand. You have to do a little research because these things move the location of the steering wheel. You don’t want it too close or too far away from you.
Goodbye, airbag-equipped factory steering wheel. With the car moving toward a new purpose as track car with race seat and eventually harnesses, the airbag is less desirable. When you’re strapped to the seat, you don’t really need the airbag.
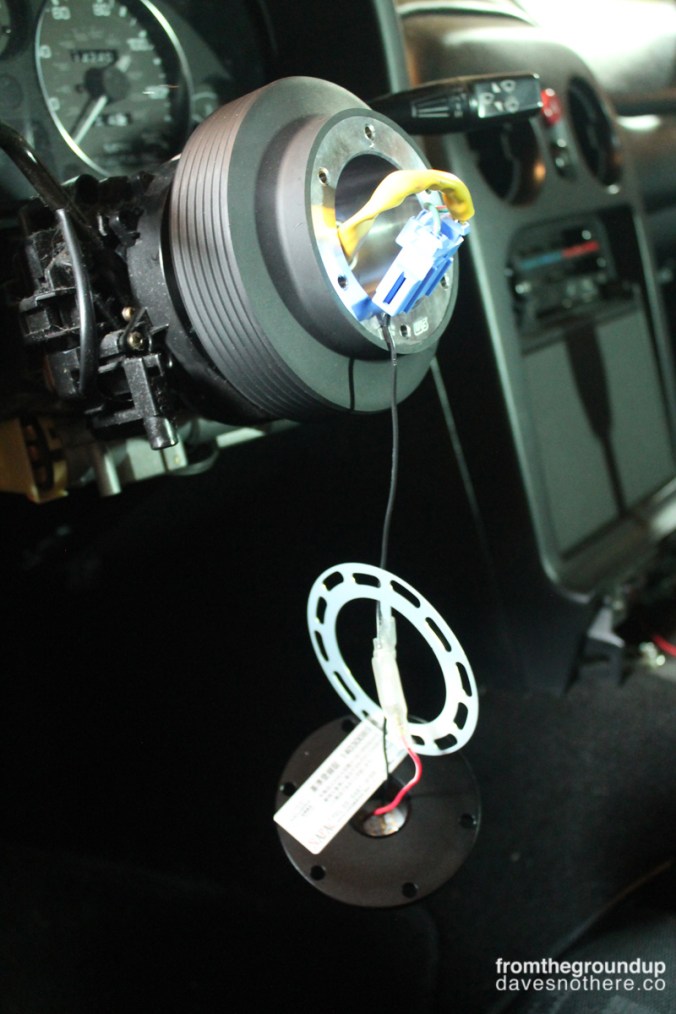
Here’s the install. An impact gun made very quick work of the steering wheel bolt. After a few minutes of man-handling the steering wheel itself, it came off. The wiring is made pretty easy by the use of a resister for the airbag system that was included with the Works Bell boss.
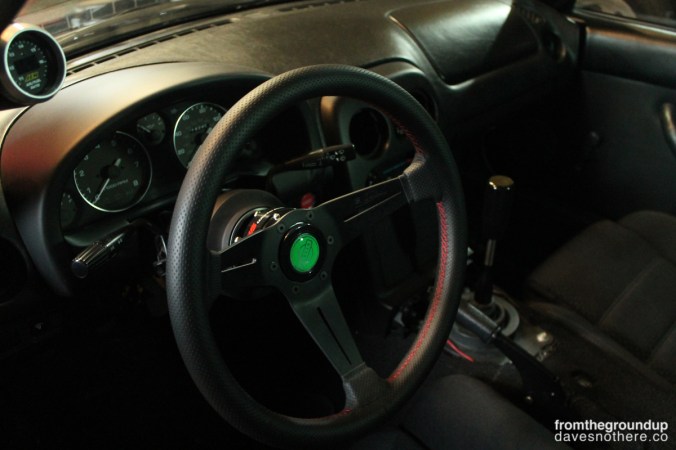
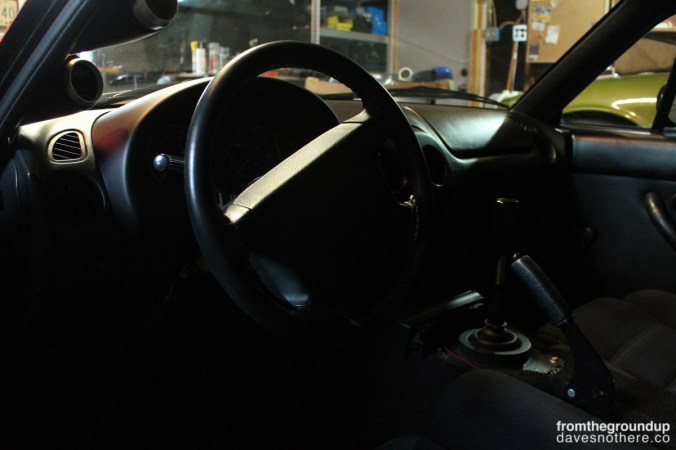
It’s all together! I love the Nardi Torino wheel. You can’t see it as well in this photo, but it’s a deep dish. Forget the Nissan horn button; it’s the only one that works with the wheel/hub combination. It came with the boss I bought for the Datsun.
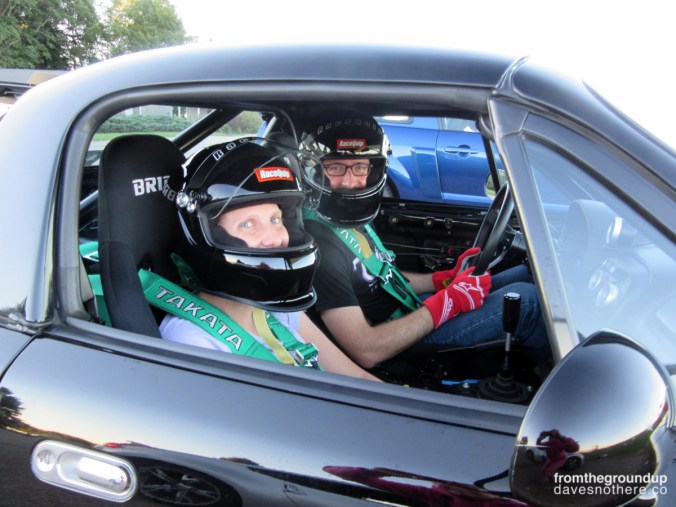
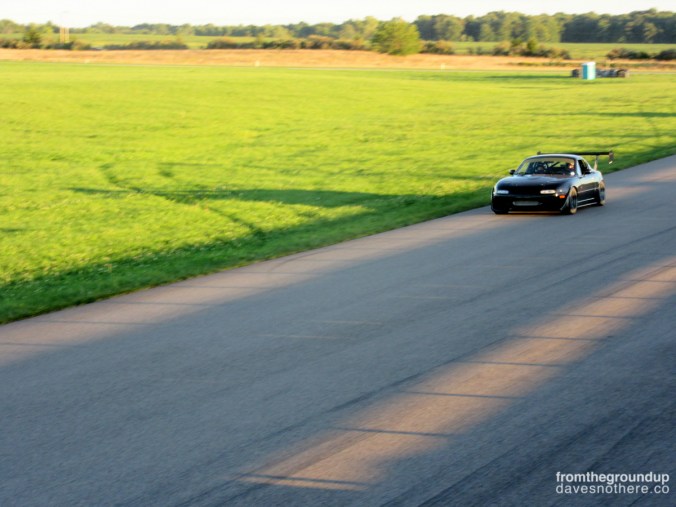
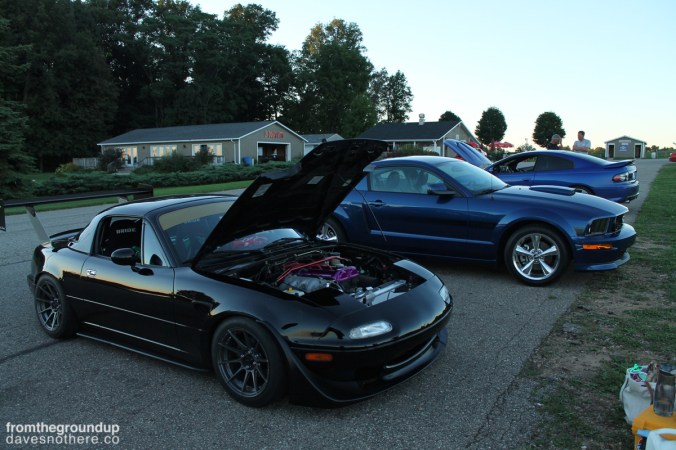
This made driving so much more fun. I used the stock seat belt for the last month or so of last year before storing the car for winter. It wasn’t ideal, but hey, it was legal. I’m not sure if the cabin looks more “down to business” or more “time to party!”