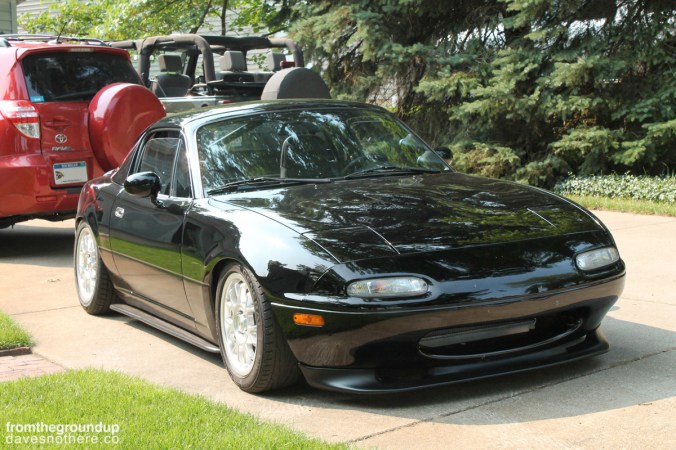
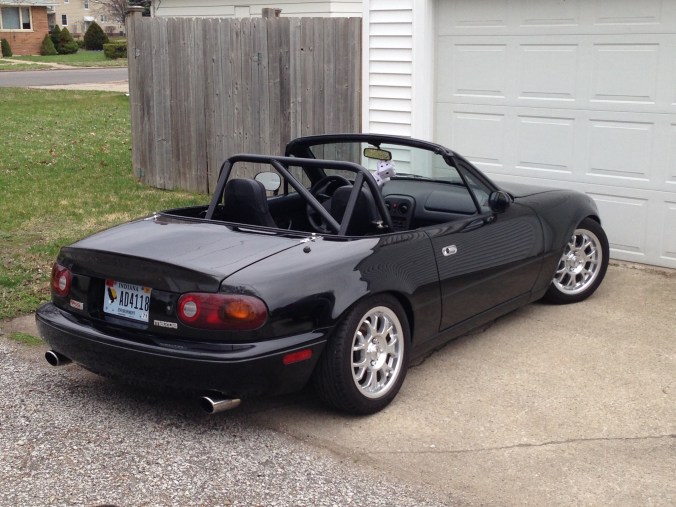
I’ve been going to the Offset Kings shows around Chicago for the last 4 or 5 years. The last 2, the show has teamed up with Gridlife at the Autobahn Country Club in Joliet. Not long after I registered the Mazda to show at Gridlife Midwest, I registered it for Offset Kings as well.
After a late-ish night, I got up bright and early to wash the car. Waxing I did at the show. My wife, who joined me on this trip, also helped by cleaning the windows. We were there a little earlier than we needed to be, staging in between groups of cars that wanted to park together, but that was ok.
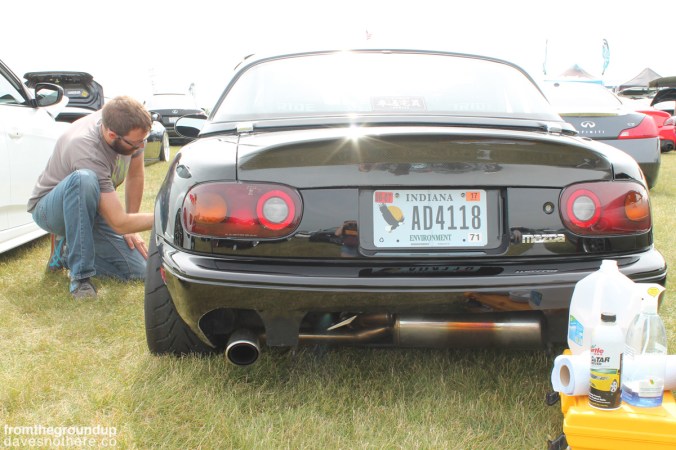
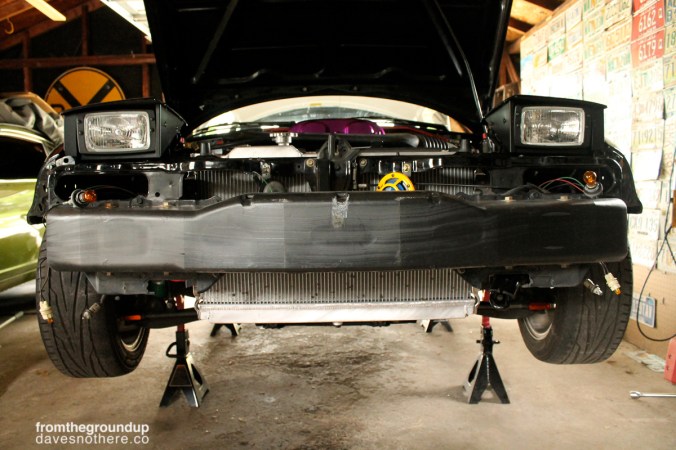
We spent the first hour or so getting the car to a show-worthy condition. Some people stopped by. We talked for a bit with Ivan, the owner of the silver WRX to our right. Theo, owner of a fairly built white Miata and a few more project MX5’s, came over. It’s fun to talk about the details with people who are doing similar things. After this, it was time to walk around, see the sights, watch the racing, and enjoy all the event had to offer.
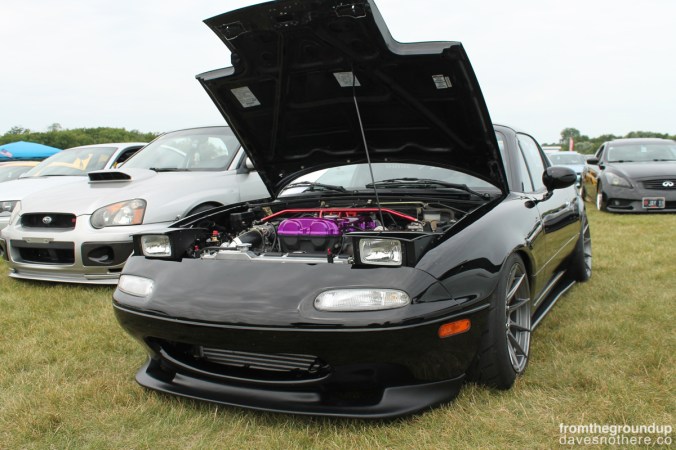
Below is what we found around the show and the paddock. There were many high quality builds. It was great to see cars with so much attention to detail, so much time put in. I wish I could show all of the photos I took, but I’m sure it would get a little boring.

There’s a gas station/food mart near the track. If you’ve ever seen the Blues Brothers, this needs no introduction.

Thanks in part to our nation’s vehicle importation laws, there were many R32 Skylines in attendance at the event. I liked this SR20-powered sedan.

These guys must have been here very early to occupy the front row. Nice formation.

This is one of the most easily recognized Z’s in Chicago.

I could be wrong, but I think this car did double duty last year. I remember seeing it on the track and in the show.

The drift style is one of my favorite looks.

Hokusai’s woodblock print, The Great Wave Off Kanagawa, has become an icon of Japan.

I owned a few Honda’s when I first started driving.

This is one of the coolest Forester’s

If you want different tail lights for a Scion FR-S, Subaru BRZ, or Toyota 86, you have a world of options.

The BEAMS Yamaha-tuned Toyota engine makes good power. I can’t pretend to know how rare they are, but they do make good power thanks to fancy engine tech.

Here’s a little VIP style.

The S13 looked straight outta Japan.

It was cool to see a Liberty Walk kit on this G37.

This car has been around a while, but it’s now sporting a Rocket Bunny front conversion. It’s definitely Mopar-inspired, looking a lot like a Plymouth ‘Cuda. It does have a supercharged V8, but I think it’s an LS motor.

Again, one of my favorite drift cars.

Two R32 Skyline’s and a Cefiro: imported cars are popular in the drift crowd. I don’t blame them.

Here’s the cockpit of a red Blazer that was out on the track a few times. This looks crazy!
Now, we have the track coverage. There were a lot of familiar cars out there, some new.

Here’s a familiar car.

The Ecotec-powered Datsun. I have to admit, I’d like to know what this car would sound like with a built original motor and performance sidedraft carburetors.

This turbo Corvette put down some fast lap times.

There was a good showing of S2000’s on the track.

Three wheelin’ it.

Sometimes, he stayed on 3 wheels all the way around the first 2 turns.

This Subaru would fishtail a little in the turns.

The radiator fan behind the driver is a cheap way to keep the cabin cool.

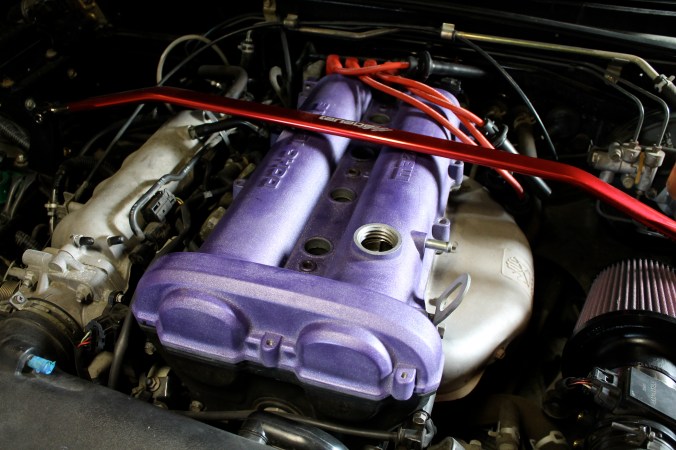
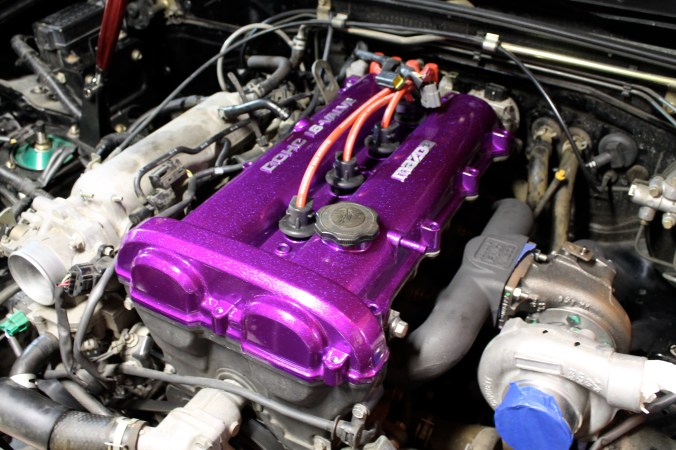
One of the coolest Miata’s on the track. This guy let me sit in his aftermarket seat last year to try it out.
Finally, here’s the drift coverage. It’s always a lot of fun to watch, especially the tandem runs and long, smoky slides.
It was getting a little dark toward the end. Rain was passing us to the south, but fortunately for us, it stayed there. The awards ceremony was at the end of the day. I couldn’t have been more excited when I found out I was getting an award!
It was a great day. Lots of fun talking with people, seeing all the built up cars on the track and in the show. Tyler caught up with my wife and I in the middle of the day. Looking forward to next year! (And yes, the date is wrong on the trophy)